So, the HP 8341A which I recently got has several problems. Besides a bad YTO, it also has a burnt relay on the A62 motherboard. When fixing the generator, I decided to start with the easy things….
The annoying thing about this relay is that it switches some sort of auxiliary voltage in the power supply. The relay is energized all the time, but in case of a malfunction of the power supply or overheating of the oven (there is an OCXO inside the generator), the relay switches off and thus turns on the rear fan. It is constructed in such a way that the fan will always turn on if there is some malfunction.
The damaged relay in my unit caused that the fan was running all the time, regardless whether the 8341A was powered on or not.
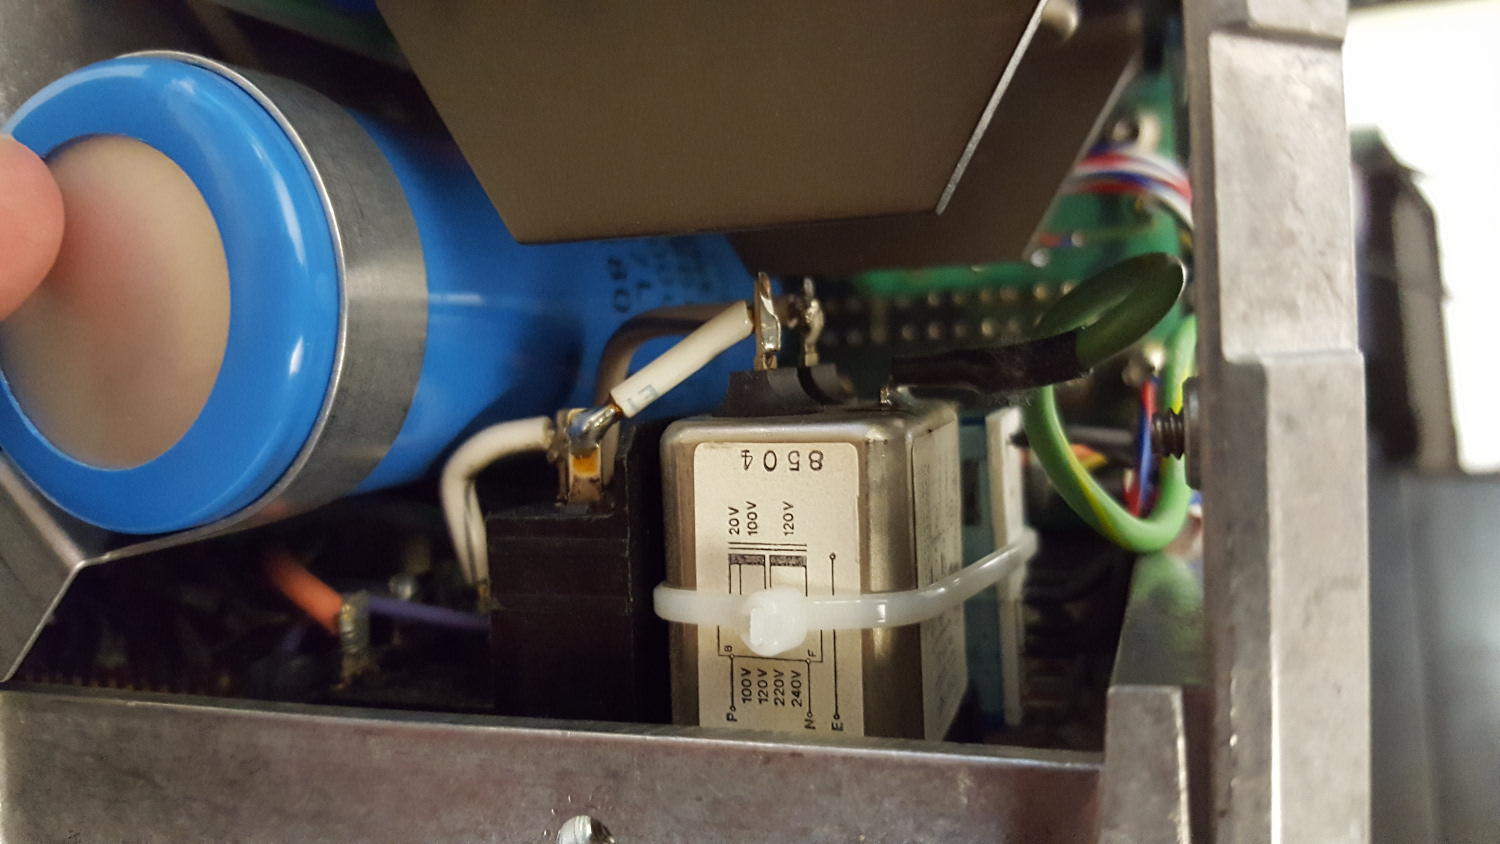
Thsi is the said relay:
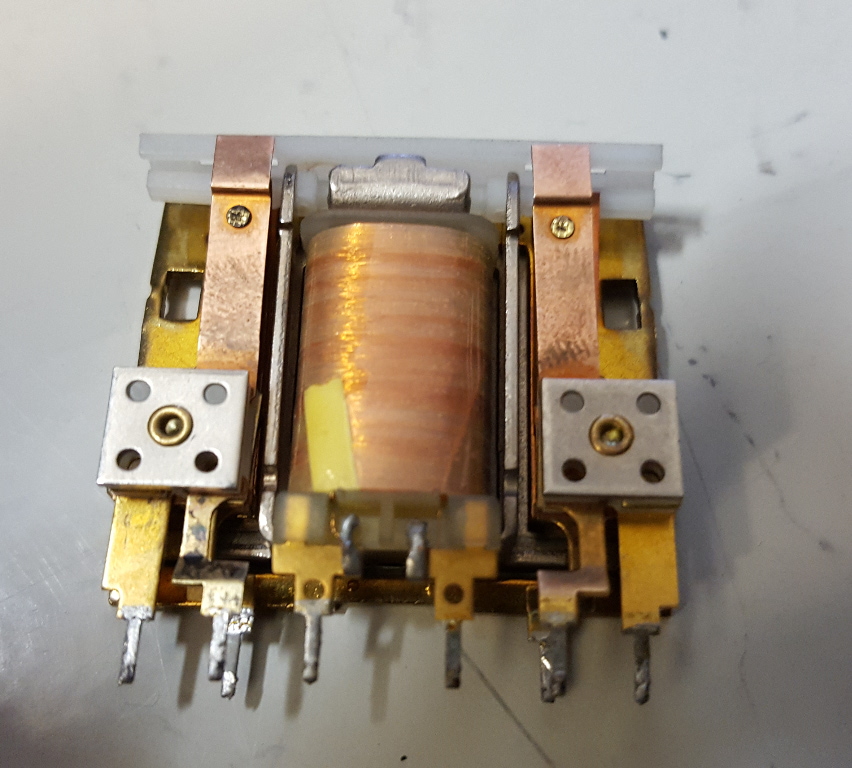
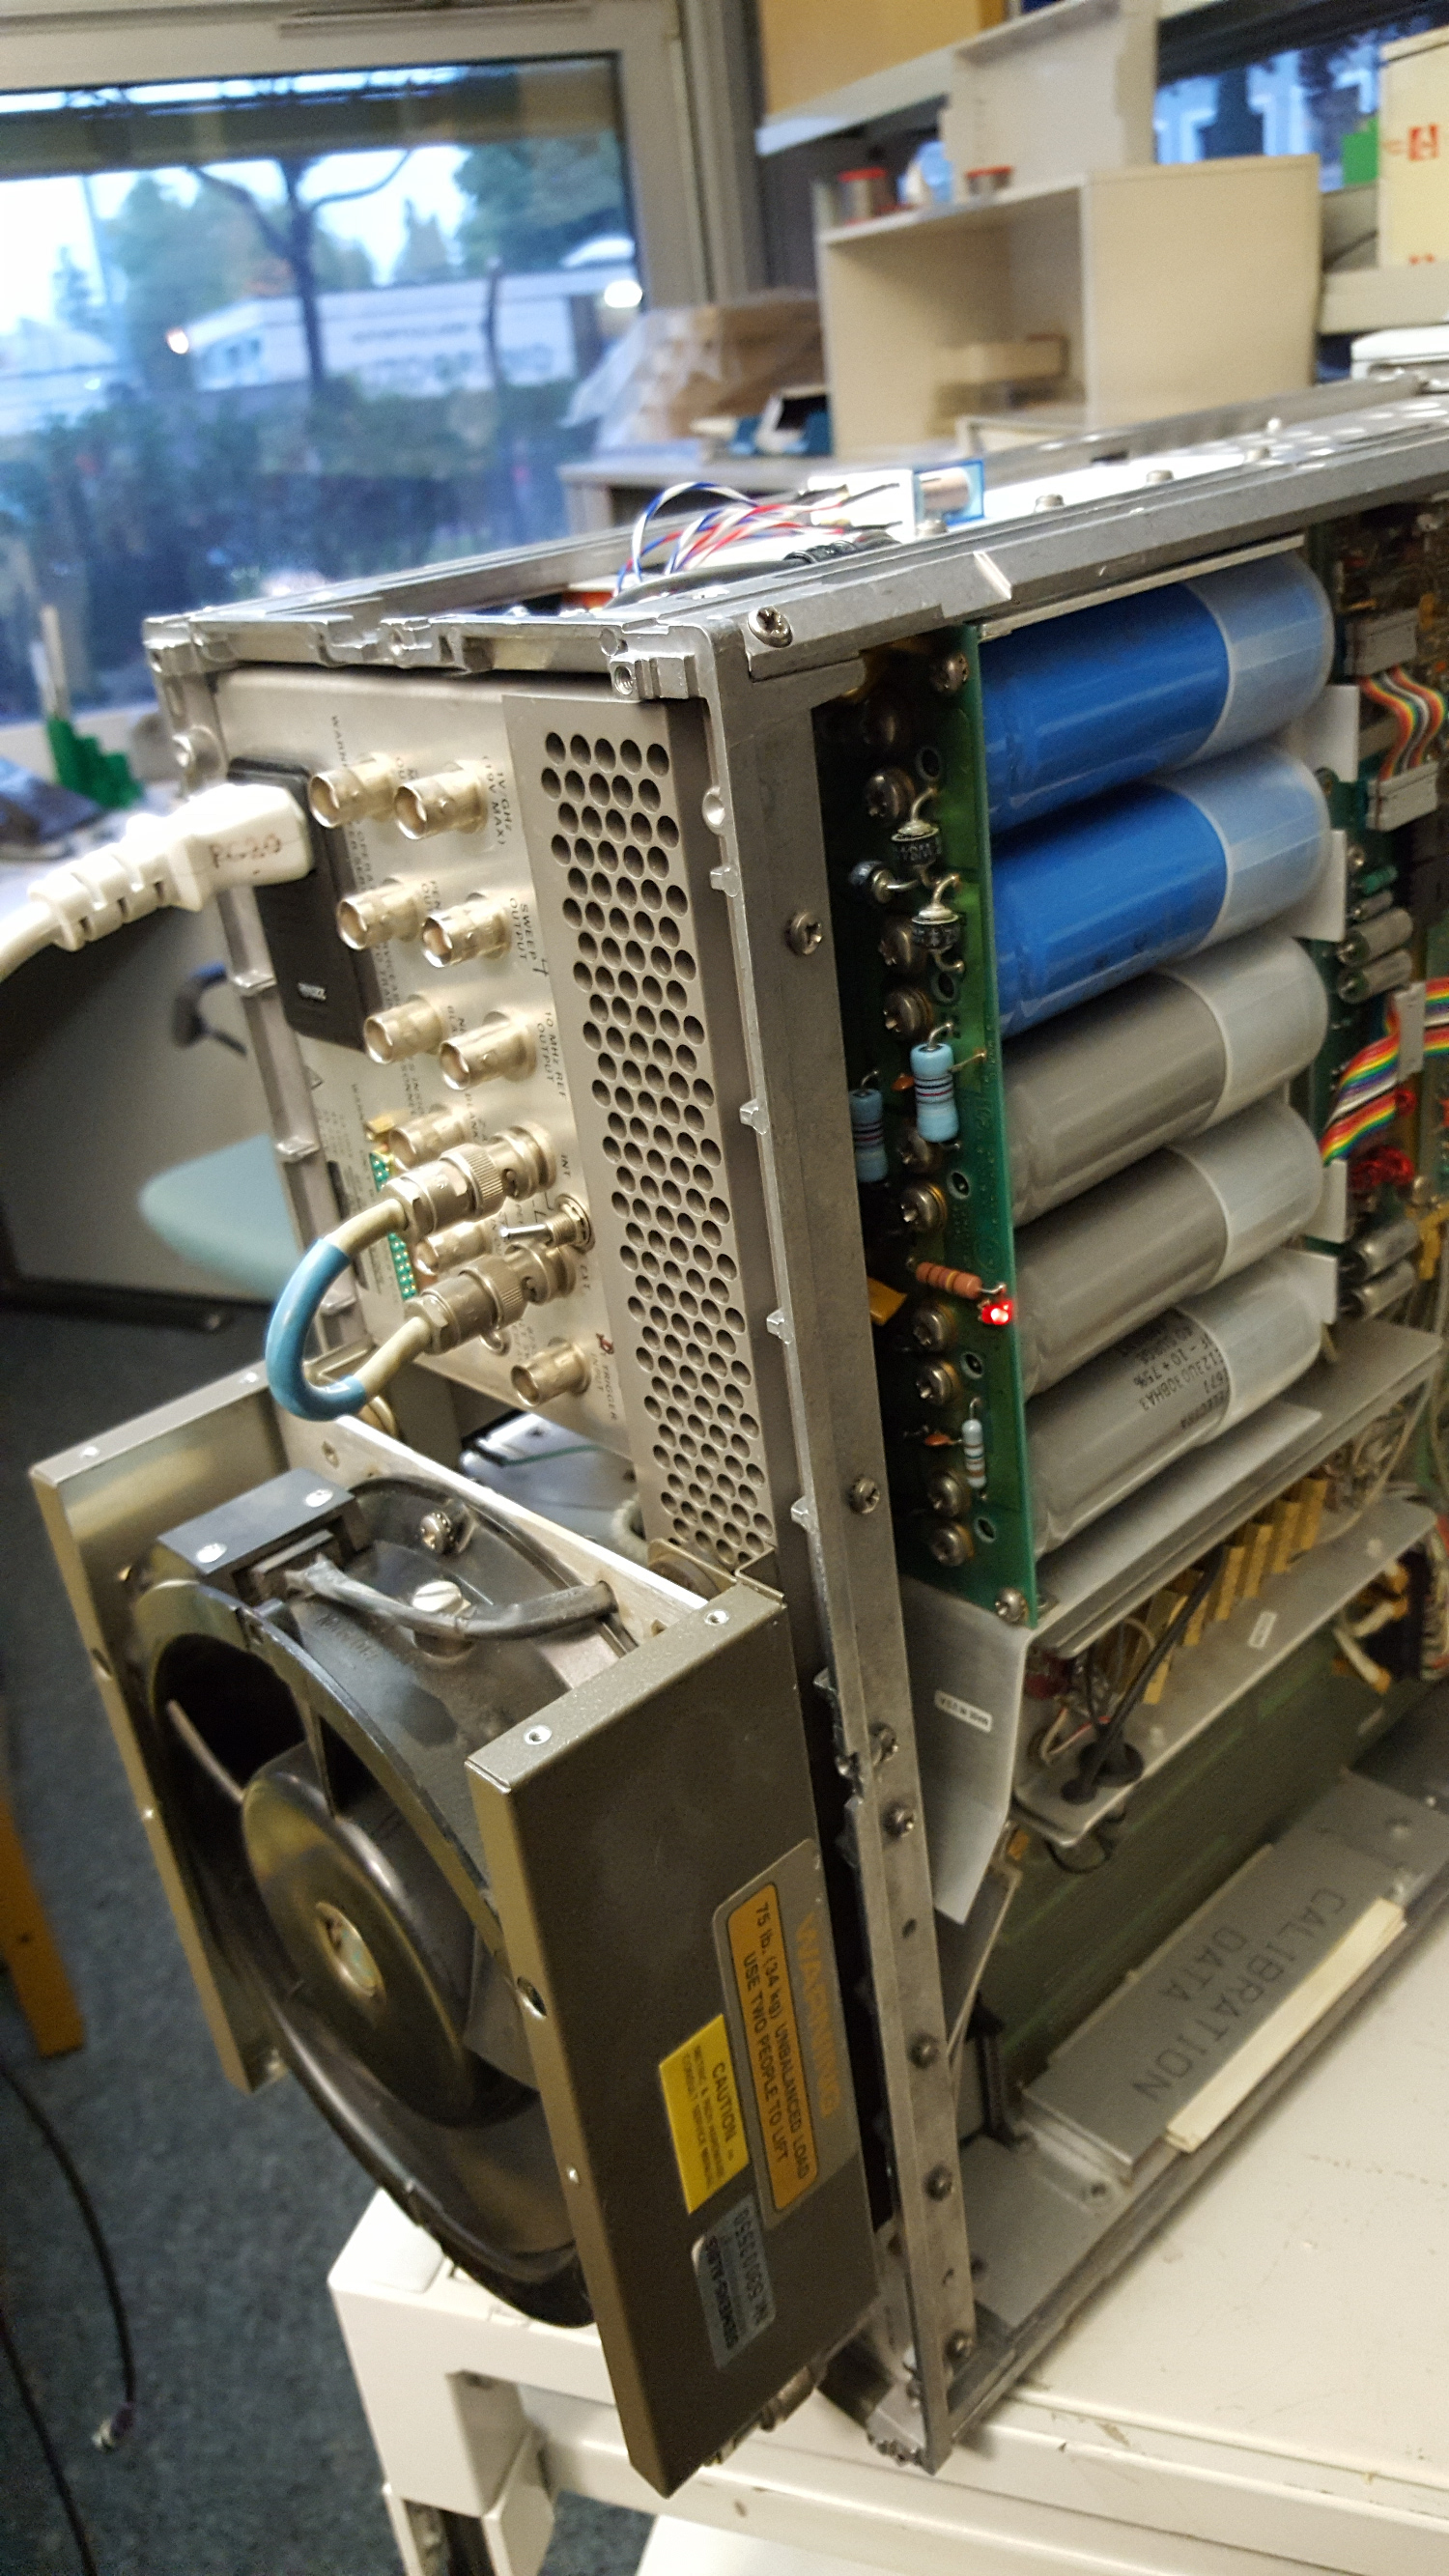
Of course, this type is no longer manufactured and I couldn’t find a substitute with the same pinout. The relay was installed in the lower right corner, where the power cord enters the unit:

In the lower left corner of the picture, one can see the rear part of the power cord connector. The relay was situated in the 9 empty holes 🙂
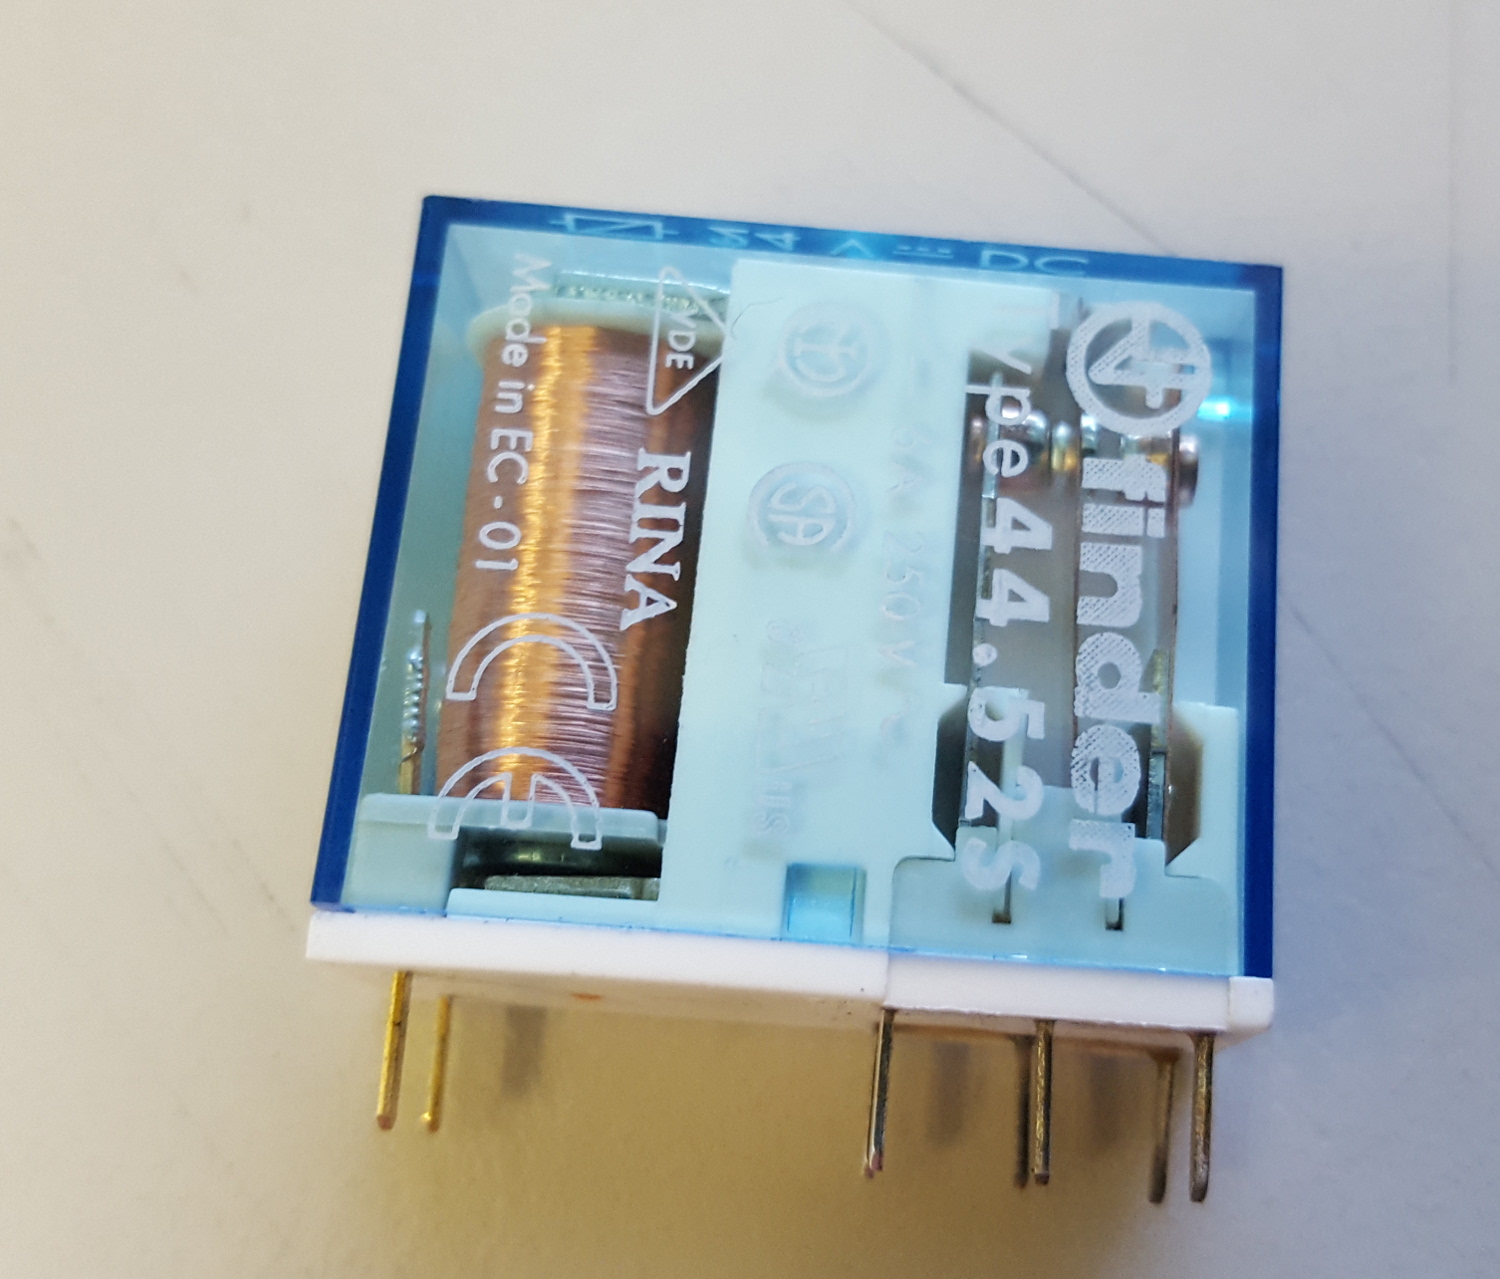
Fortunately, the service manuals tells that the relay needs a switching capability of 115VAC and 5A. In my junk box, I found a Finder relay for 250VAC and 6A:
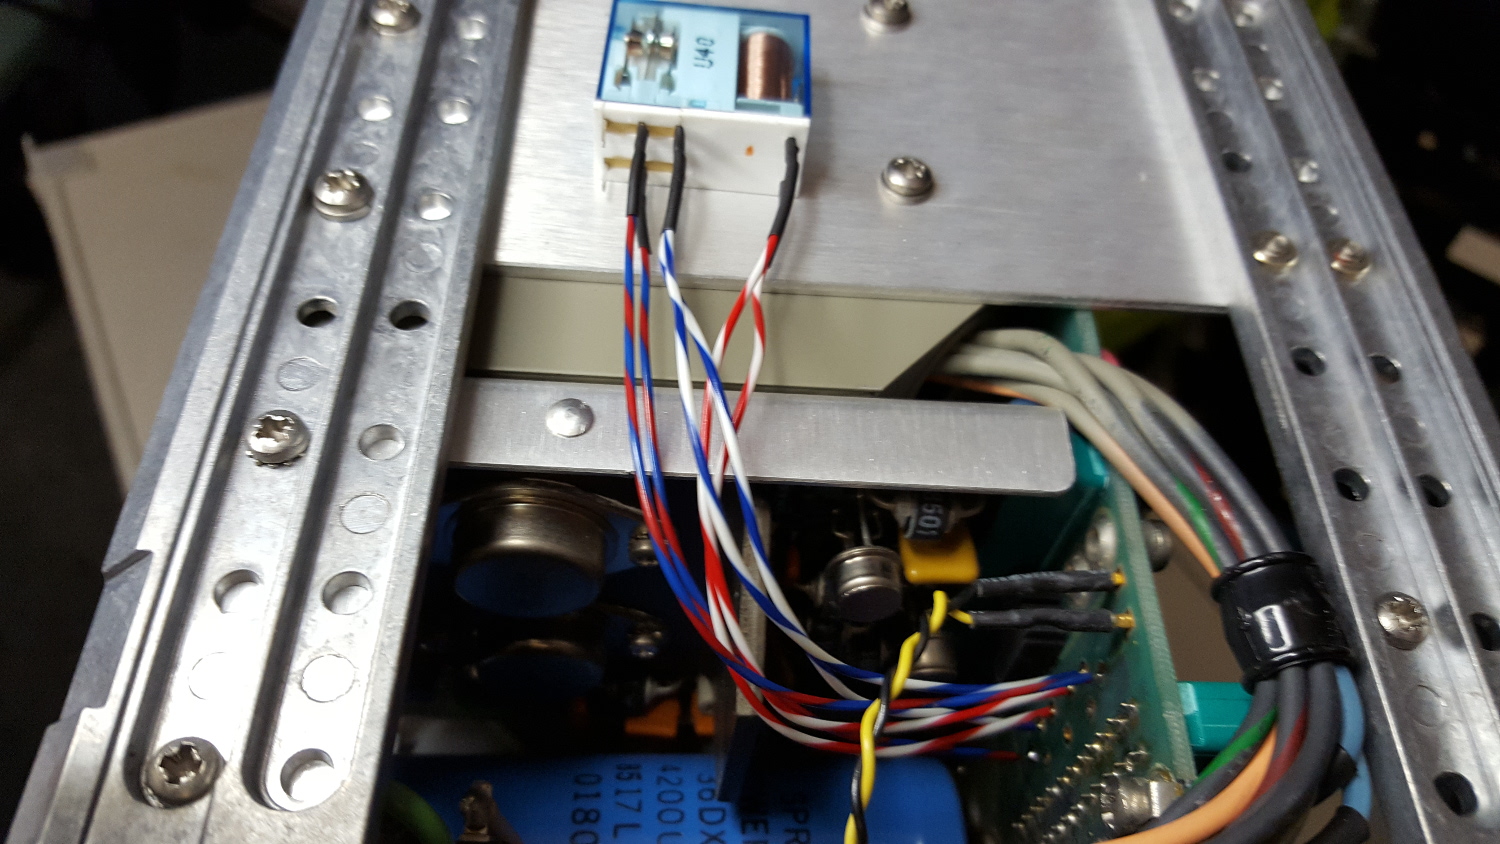
Of course it does not match my pinout 😈 so I soldered some wires to it…
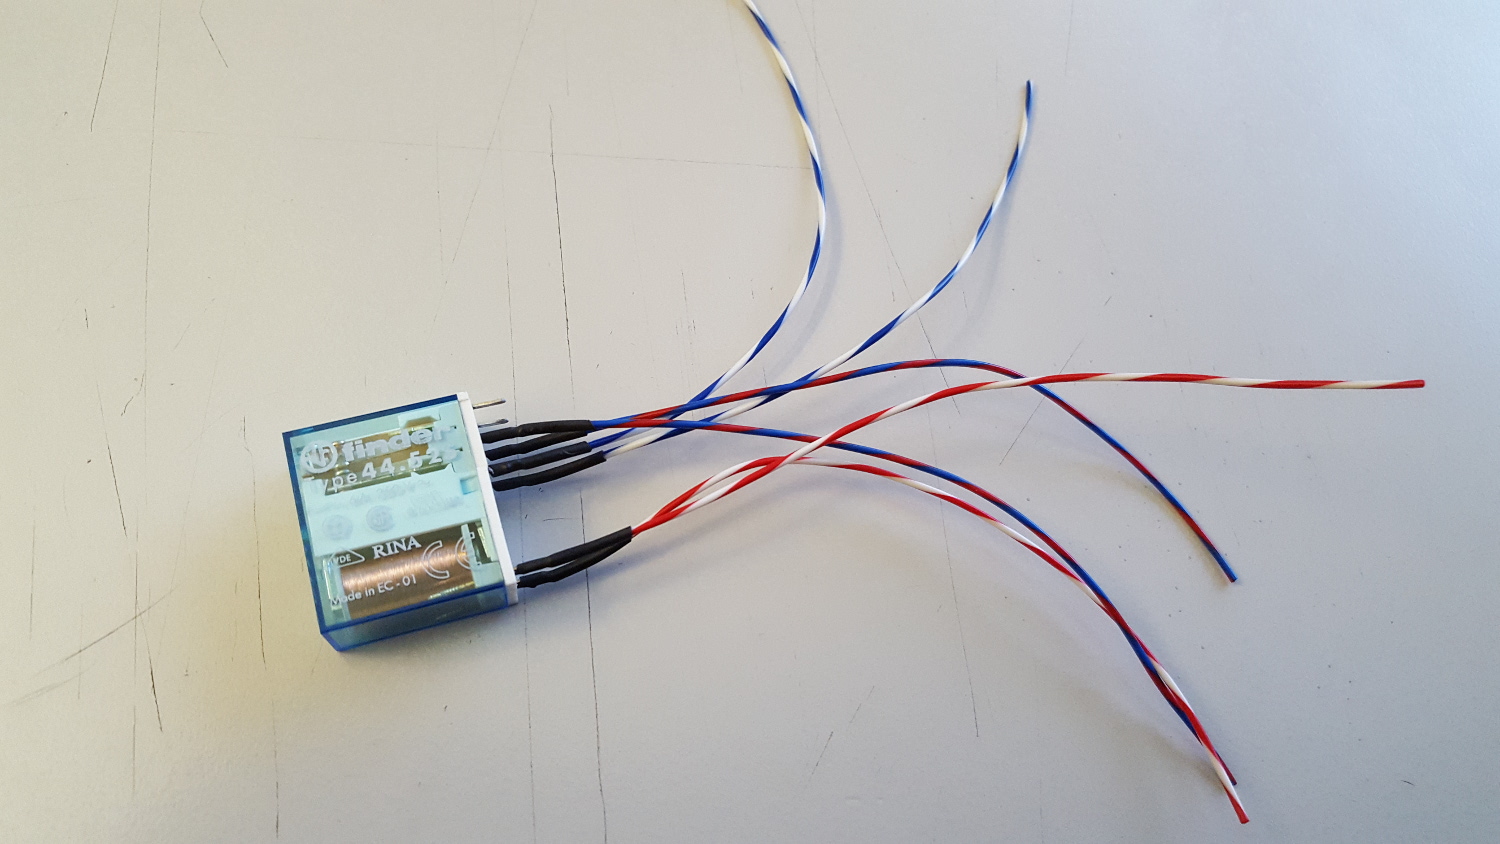
These are soldered to the pads where the former relay was. It is quite a PITA to solder something in this small area; I was a bit too lazy to dismantle the whole unit 🙂
First test: place the relay somewhere and plug the power cord in. Fan should NOT run. Which it does 🙂 the small red light on the capacitor board indicates that the power supply is working. The standby LED on the front panel is also lit. The relay is powered on. Everything fine!
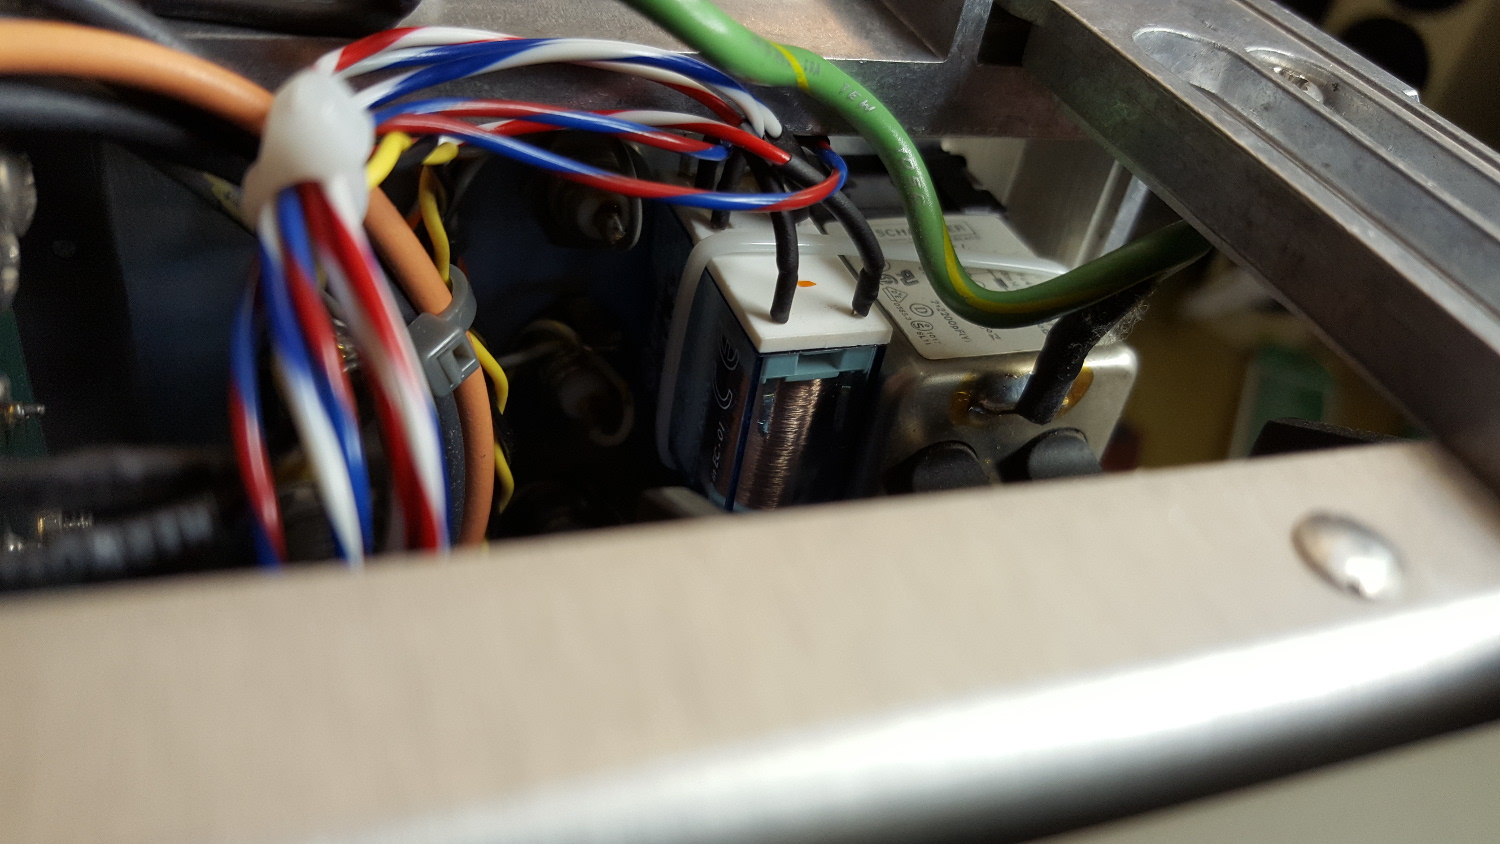
Now, how to properly install the relay without obstructing the air flow? I decided to use some cable ties to tie it to the power connector:
So, dead power supply relay: fixed!
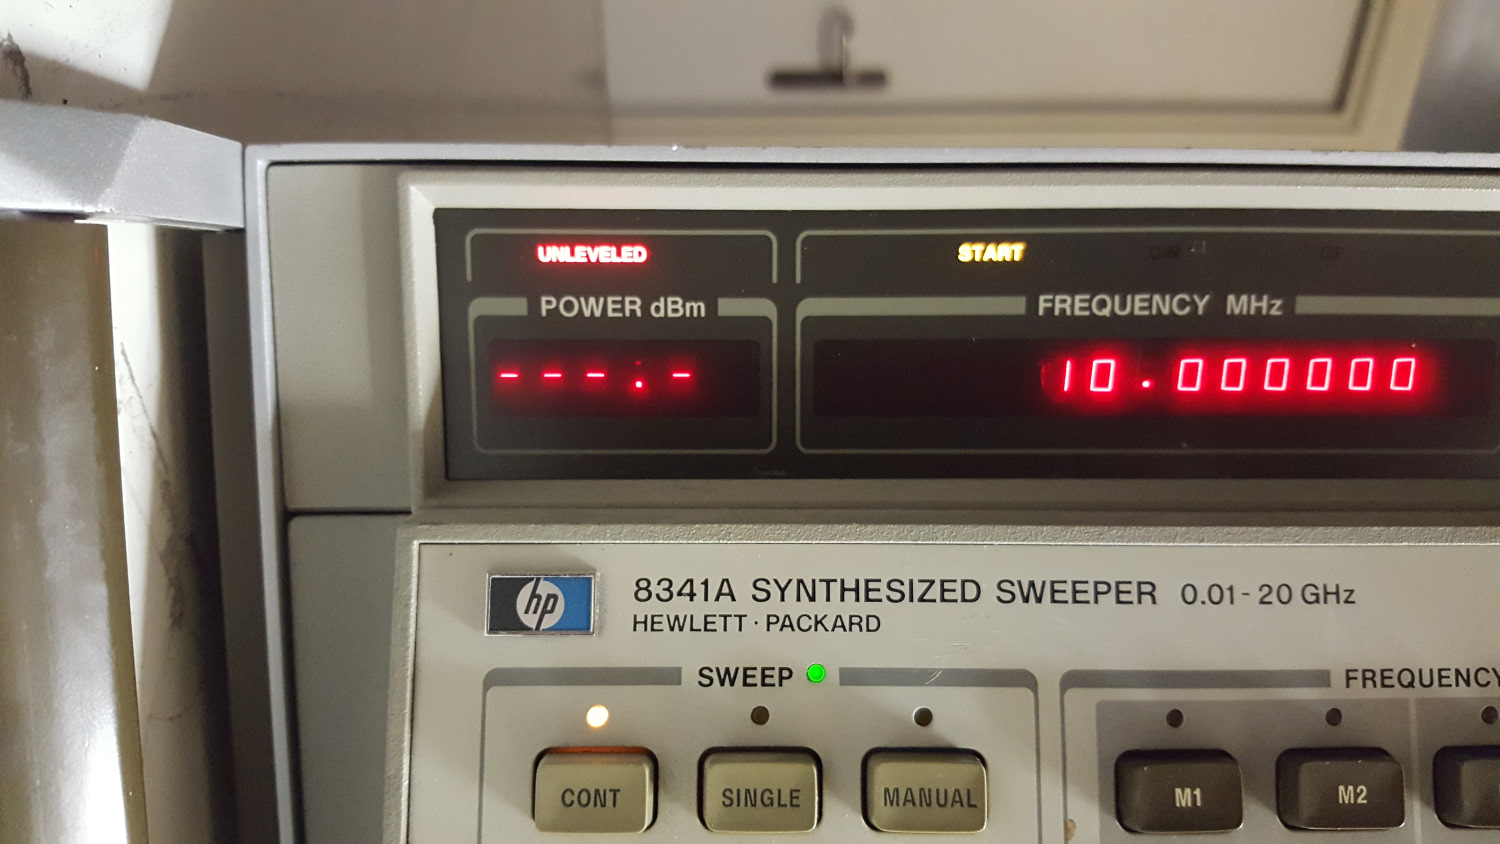
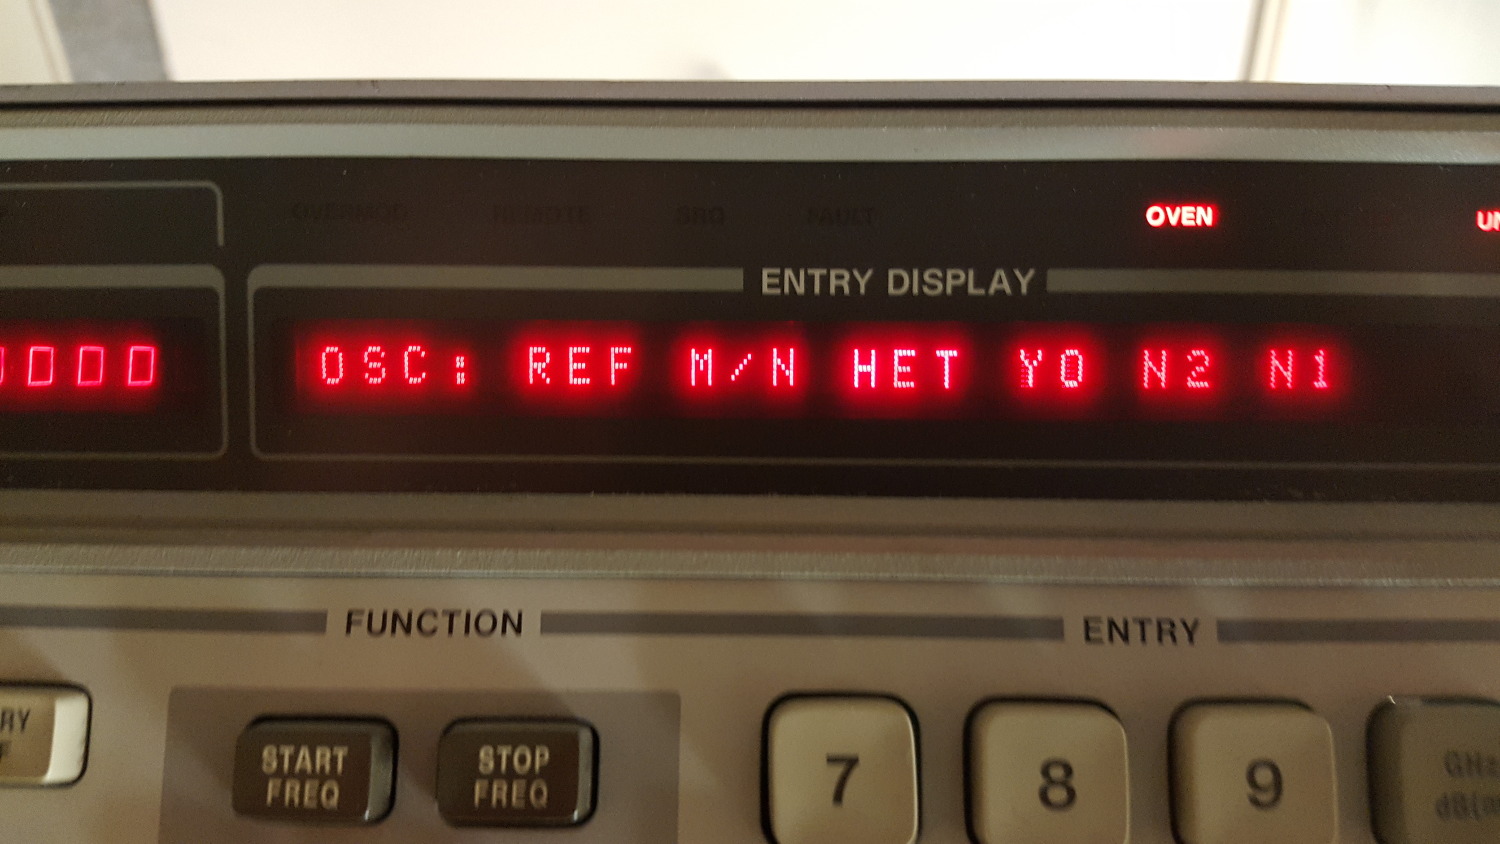
Now I still have these annoying YTO unlock errors…. The self test display should look like this:
But mine looks like this:
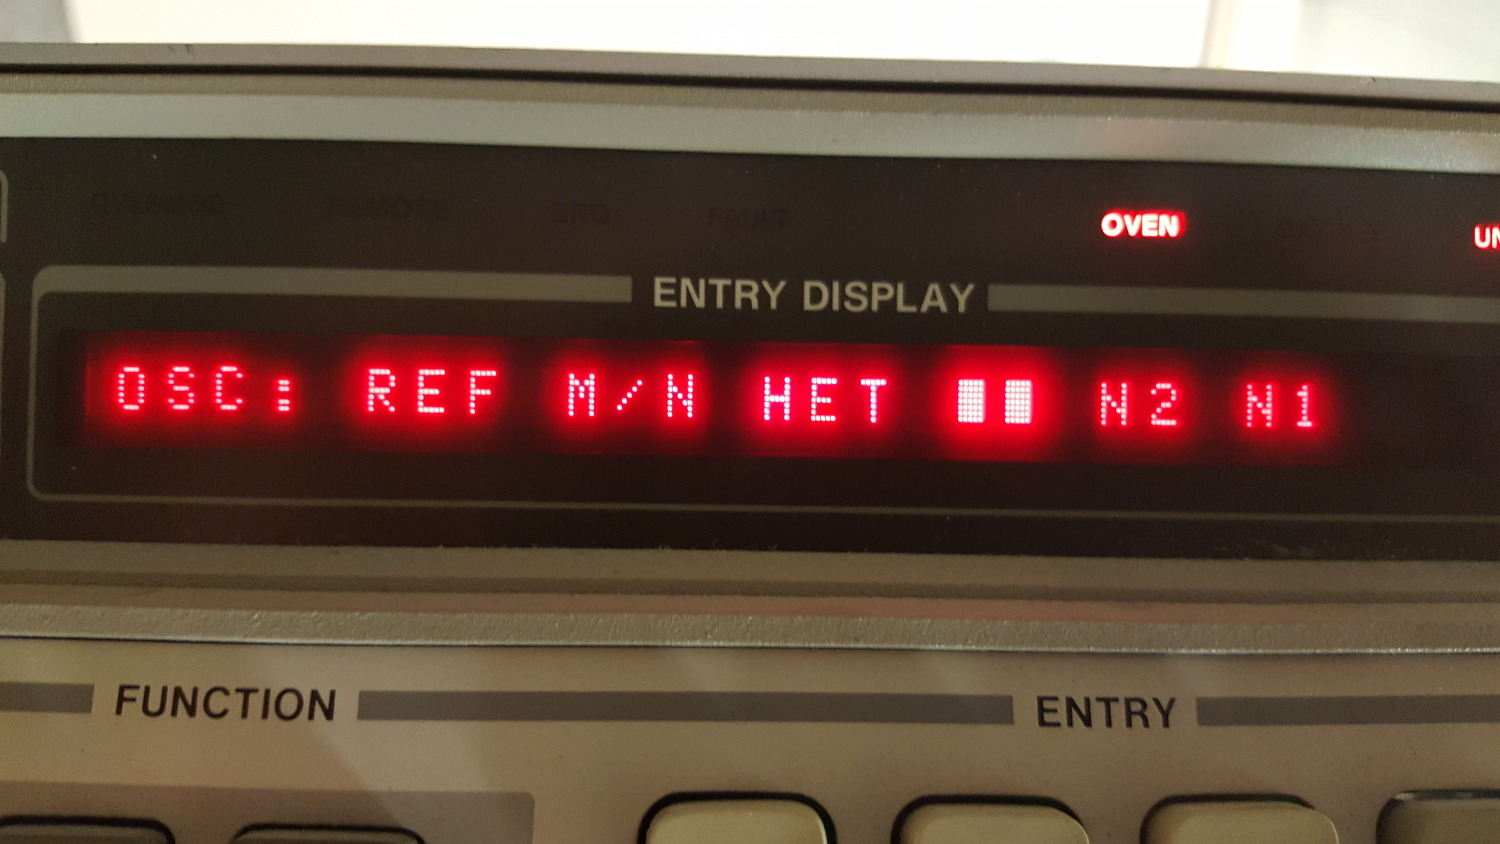
YO is nicely blinking. Time to debug the YO loop in the next part! I also don’t really like the ‘UNLEVELED’ annunciator.