I got a new 4262A LCR meter from eBay. It was sold ‘as is’ because it had a defect…
Unfortunately, I forgot to take a picture of how the meter looked like when it arrived. It was not in a terribly good condition. Additionally, it showed self test error 2 (which I knew before buying), and because of this, the seller agreed on a even better price, 50% off 🙂 Of course I read the service manual before purchasing the meter to find out whether error 2 was possible to fix.
Apparently, error 2 means …
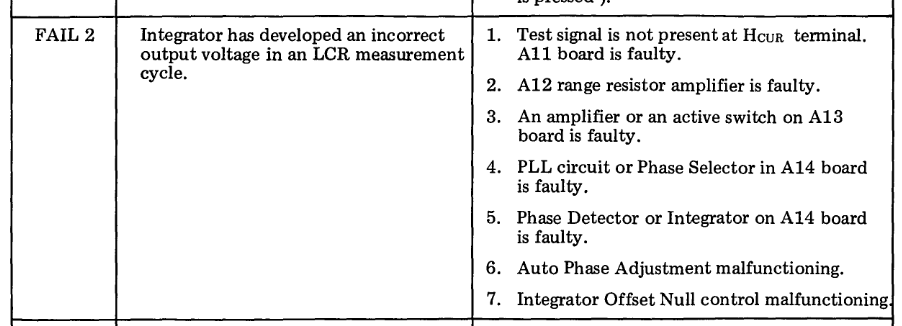
… which seems not to be terribly complicated. Looking at the schematics of the boards A11, A12, A13 and A14, I didn’t see any fancy HP ASICs or wire bonded magic, so I decided that the meter should be possible to repair.
When I turned the meter on (first, always remember to put the line voltage selector switch to the 230V position if something was bought in the U.S.!) it showed, as expected, error 2, and the internal relays were chattering quite badly. Besides this, the front panel connectors were in quite bad shape…
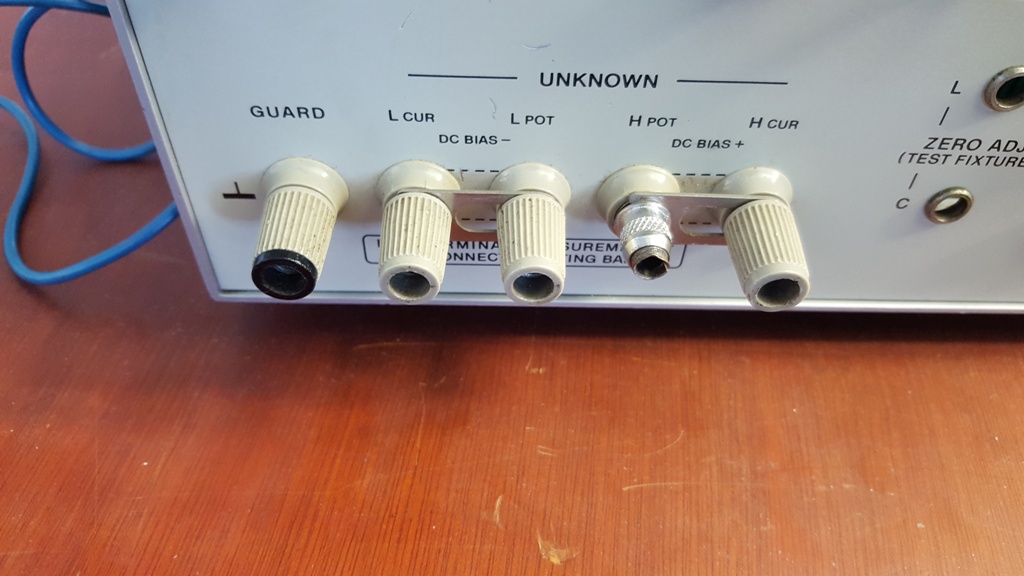
They were so stuck and full of oxide and dirt that they even didn’t make proper contact. Since I didn’t have any decent spares for them, I decided to remove the connectors and fit nice BNC connectors. To remove the front panel, the wires need to be desoldered from the main board.
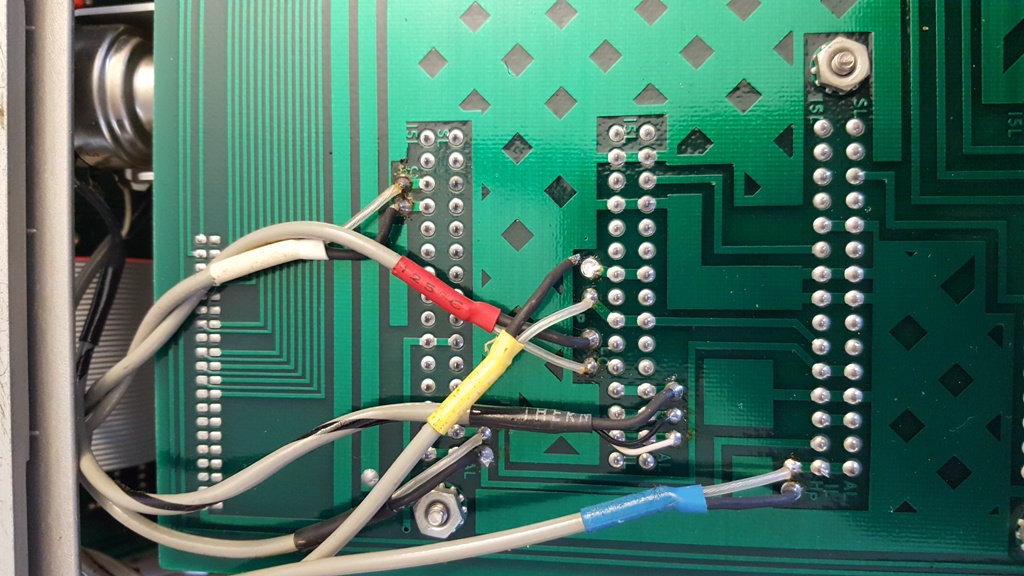
Afterwards, one can remove the front panel and the 4mm connectors. The old connectors look as if someone as used pliers to tighten them. How stupid 🙁

I fitted the BNC connectors and connected a set of BNC Kelvin clamps to the meter. Unfortunately it still showed error 2, but for a couple of seconds, it was working and showed 0pF! So it appears (as I expected, hehe 🙂 ) that the fault is due to some contact problems. After I opened the meter and removed the spider webs and the dust and cleaned the edge connectors of each assembly, guess what? The meter shows PASS on each self test, and no relay chattering anymore! Yay, fixed 🙂
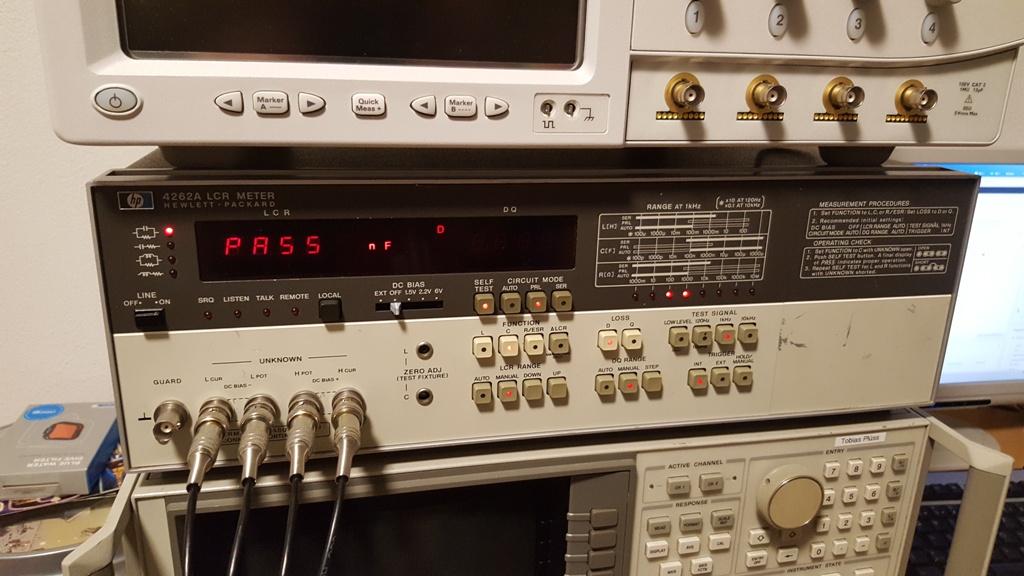
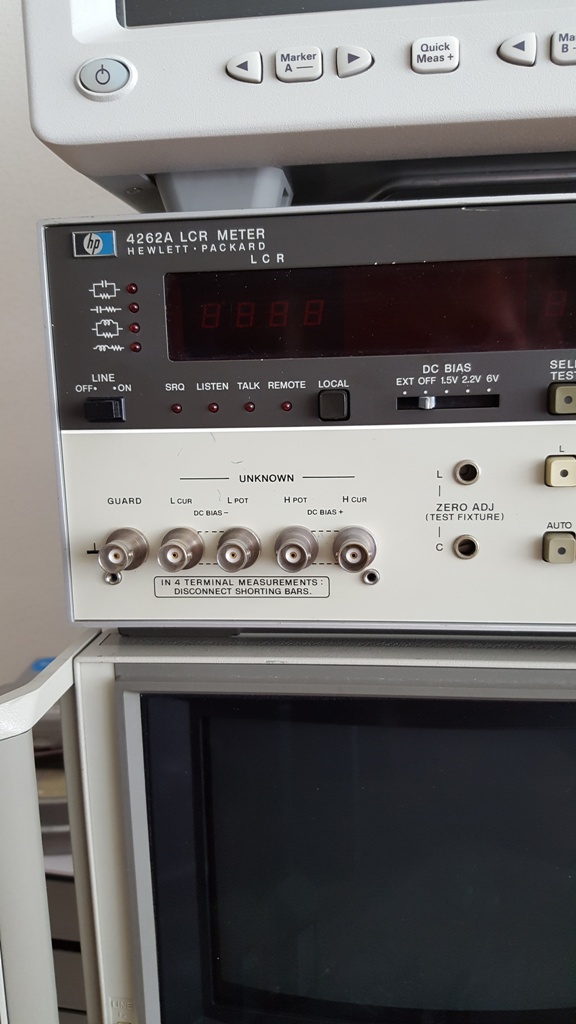
This is my new meter in its natural environment:
Ebay Kelvin clamps (I got these here) with a 100pF ceramic capacitor…
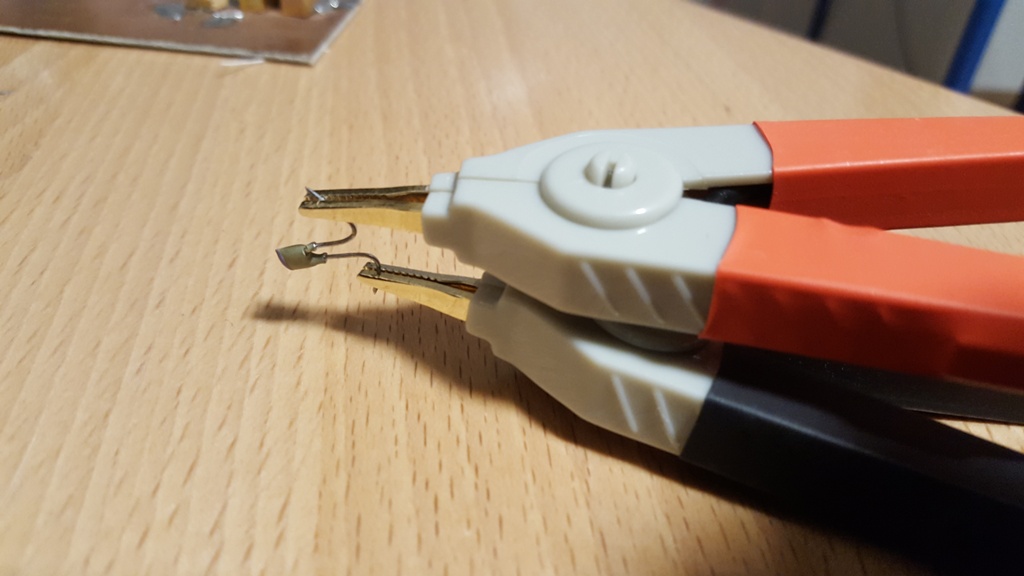
… and the meter reading:

not too bad, I would say. I tested with a precision Huber+Suhner 50Ohms termination resistor – the meter reads 49.9 Ohms. This is incredible – after more than 40 years without calibration it is still within spec! I cross-checked with a few more components (resistors, capacitors, inductors) I knew the value of, and all was within spec, so I didn’t even have to adjust anything. Power supply voltage and frequency was also good.
The only final thing I had to do was to add these front panel side stickers, now it looks almost as brand new 🙂
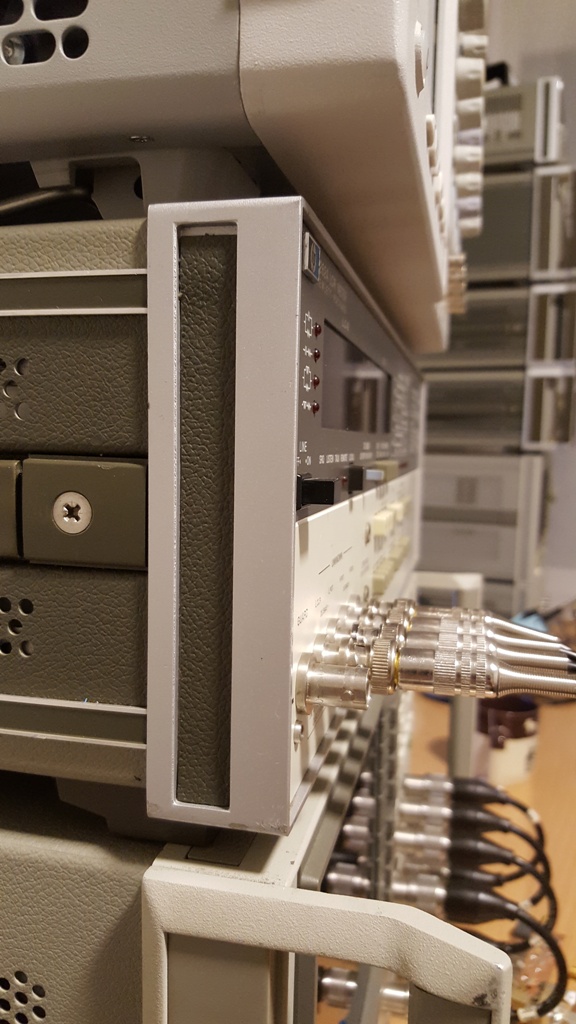
It will come in handy when tidying up my boxes of unknown (and unlabeled…) ceramic capacitors and inductors.
Update a few days later:
Dammit! While using my 4262A to measure a couple of parts from my junk box, it suddenly made BOOOOM and a huge cloud of white smoke came out of the meter! I quickly pulled the mains connector and opened the case. Oh dear, it smelled terribly after burnt plastic! it turned out that the reason was a blown X capacitor in the power supply. These are the remainders of that sucker:
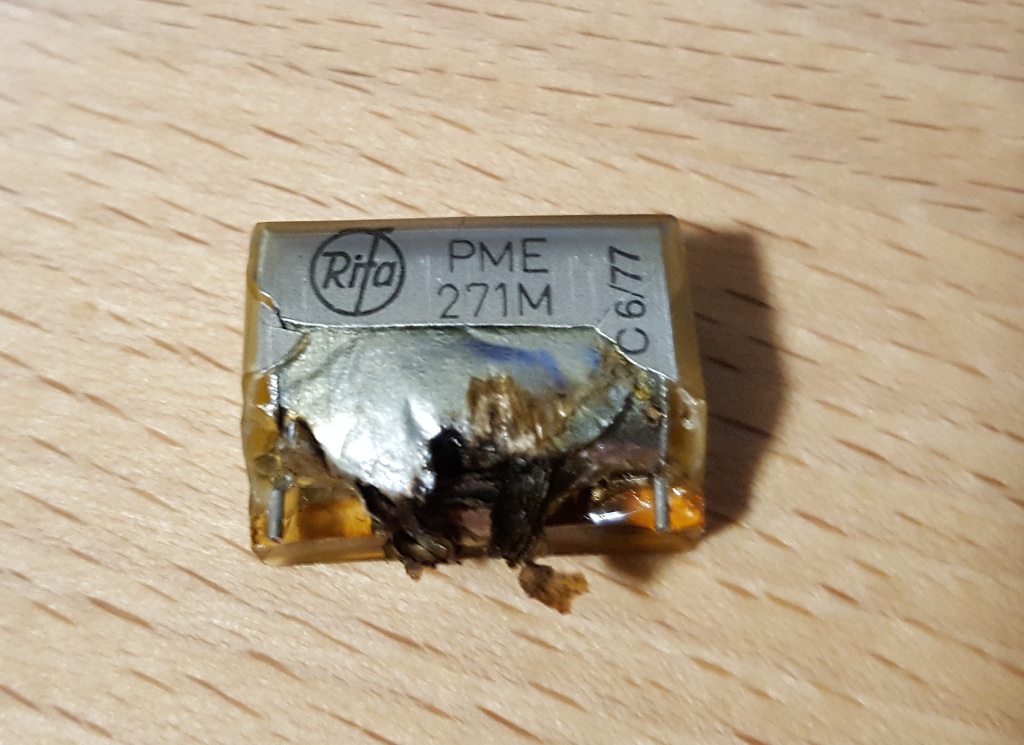
As this guy points out, especially the RIFA capacitors above a certain age are prone to this problem. The reason is that the plastic shrinks a bit due to aging and gets cracks, where humidity can creep into the capacitor. And as soon as it is humid enough…. well you get the point. I didn’t have a replacement for the capacitor at hand, but the meter just runs fine without it. Lesson learned: pay attention to the RIFA caps!